How to Reduce Image Size Without Losing Quality

Almost every site owner goes through the same moment: things felt snappy at the start, then over time the homepage and blog posts slowly became heavier. In many cases the main culprit is simple images straight from the camera or design export being uploaded without any optimization.
The good news is that you do not need a complicated workflow to fix this. A simple, repeatable process can bring your pages back under control and keep them fast for future content as well.
1. Start with the Right Dimensions
Before you think about compression levels or formats, make sure your image is not larger than it needs to be. If your blog layout never shows an image wider than 1200 px, there is no reason to upload a 4000 px original.
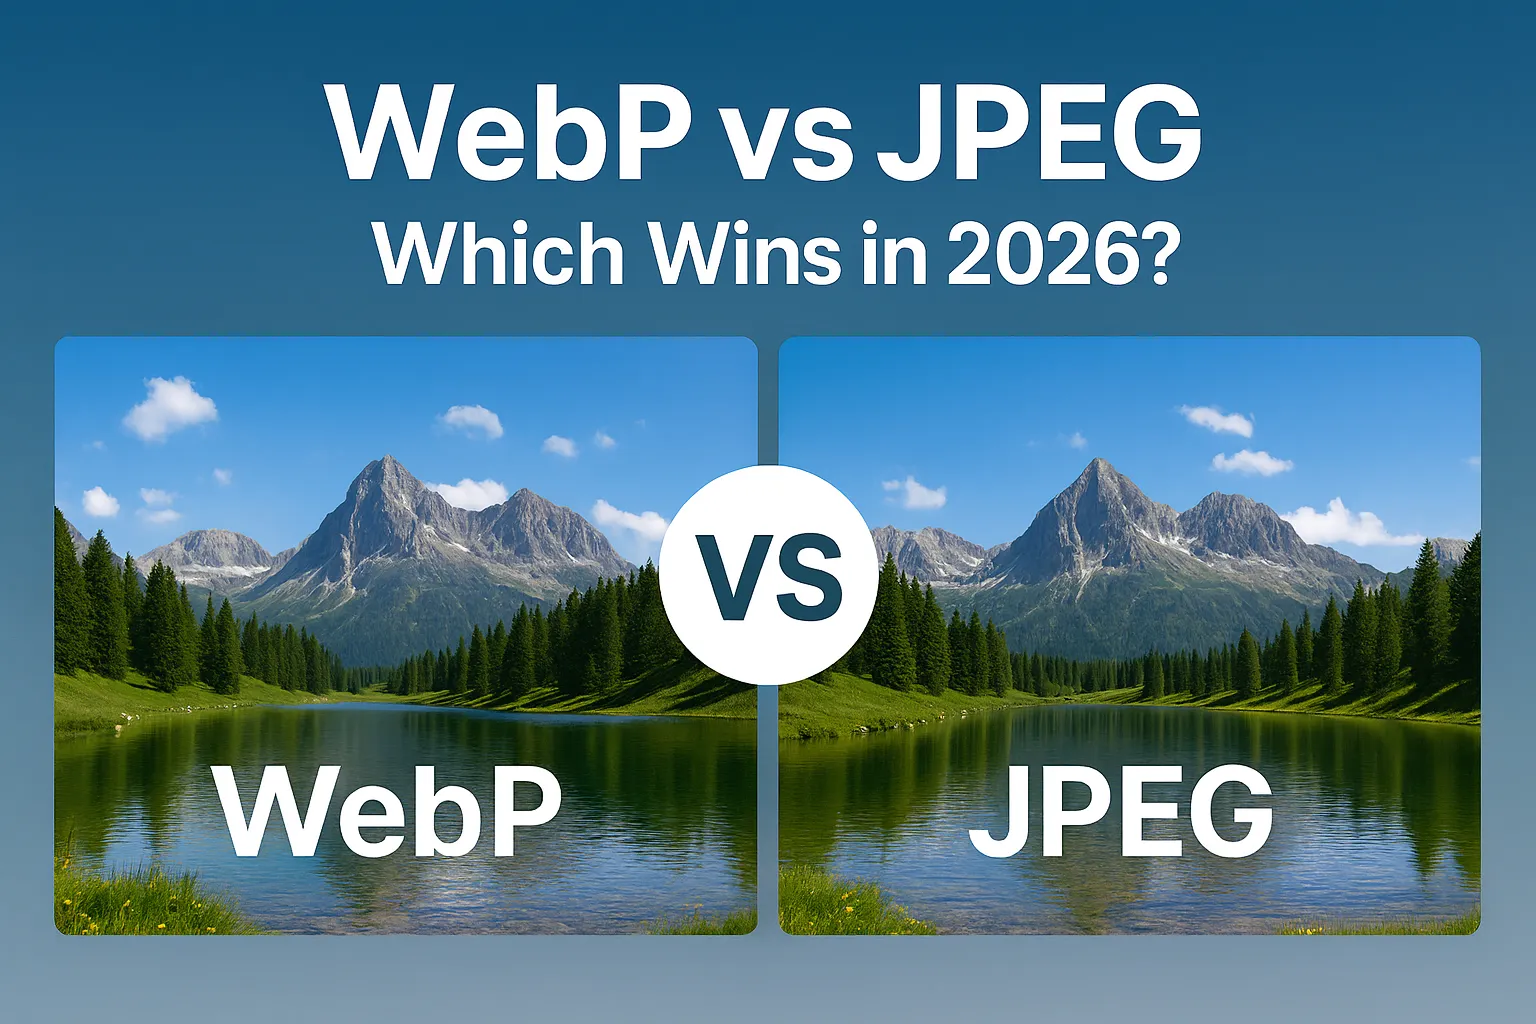
2. Choose a Modern Format
For most web use cases in 2026, WebP is the easiest win. It keeps quality while cutting file size dramatically compared to older JPEG exports. You can also keep a fallback JPEG if you work with very old browsers, but for the majority of visitors WebP is more than enough.
Tools like ImagePulser and ImageDocker make format conversion and compression part of a single step instead of a separate task.
3. Compress with Visual Checks
There is no single magic quality number. A better approach is to compress, quickly compare before and after, and adjust until you find a sweet spot. With a live preview you can move from 100% quality down to 70–80% and still keep the image perfectly usable, while cutting file size by more than half.
4. Automate for Repeated Tasks
If you run a blog, portfolio or shop, you will repeat this process often. Saving a basic preset or deciding a standard output (for example: 1200 px wide WebP at around 75% quality) eliminates guesswork and keeps your site consistent.
5. Review Old Heavy Pages
Once you are comfortable with the new workflow, revisit your most important pages and replace the heaviest images. Often, optimizing the top 10–20 pages brings a noticeable improvement to the entire site because those URLs receive most of the traffic.
Summary
Reducing image size is not about chasing perfect numbers in a tool. It is about a practical workflow: resize to a sensible width, export as WebP, compress with visual checks and keep a simple standard for future uploads. When done regularly, it keeps your pages light without turning image work into a chore.

Comments (0)
No comments yet. Be the first to share your thoughts!
Leave a Comment